If you previously had installed the free Tag Groups plugin, all settings and groups will be carried over to the Pro plugin. If you start with a fresh installation of Tag Groups Pro, we recommend you follow these steps:
Step #1. Select the taxonomy #
Go to the Taxonomies page in the Tag Groups settings.

There you select the taxonomy (that is the “tag type”) that you want to organize under groups. In most cases you keep “Tags” (post_tag), but in some cases it might be “Product Tags” (product_tag) or others.
Only non-hierarchical taxonomies (such as tags or product tags) are fully supported, but you can also experiment with category-type taxonomies.
Depending on the chosen taxonomy, a new submenu and page appears next to the submenu of the corresponding tags, called Tag Groups Admin. By default it is located under Posts, in the case of Product Tags it is located under Products. You can simply navigate there by clicking on the icon of a taxonomy name.

Step #2. Create some tag groups #
On the Tag Groups Admin page you create the groups you need. You can return any time later to make changes.

- Create a new group below a row by clicking on the plus icon.
- Click on the trash icon to delete a group.
- Click on an arrow to move a group up or down. The order is relevant for displaying groups in tag clouds.
- Drag and drop a group to a new position.
- Click into a name to edit it.
- Click on the number of tags to go to the list of tags, filtered by the selected group.
- Click on the paper sheets icon to go to the list of posts, filtered by the selected group.
- Open the Screen Options to define the number of groups per page.
If you are using a multilingual plugin, the displayed names will change according to the selected language.
Step #3. Assign tags to these groups #
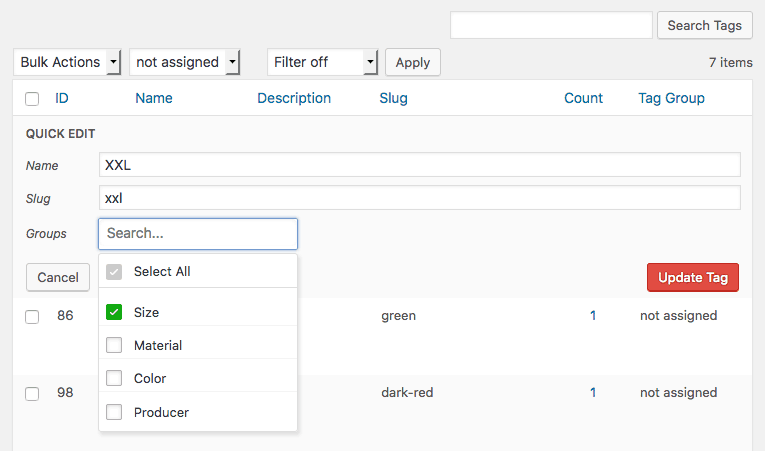
Then go to the tags (or product tags, or others) and assign them to these groups as needed. You can do it one-by-one or with bulk actions.
By default, each tag is unassigned.
That’s all to get started.
You can later always return again to the Settings and the Group Administration screen that we mentioned above.